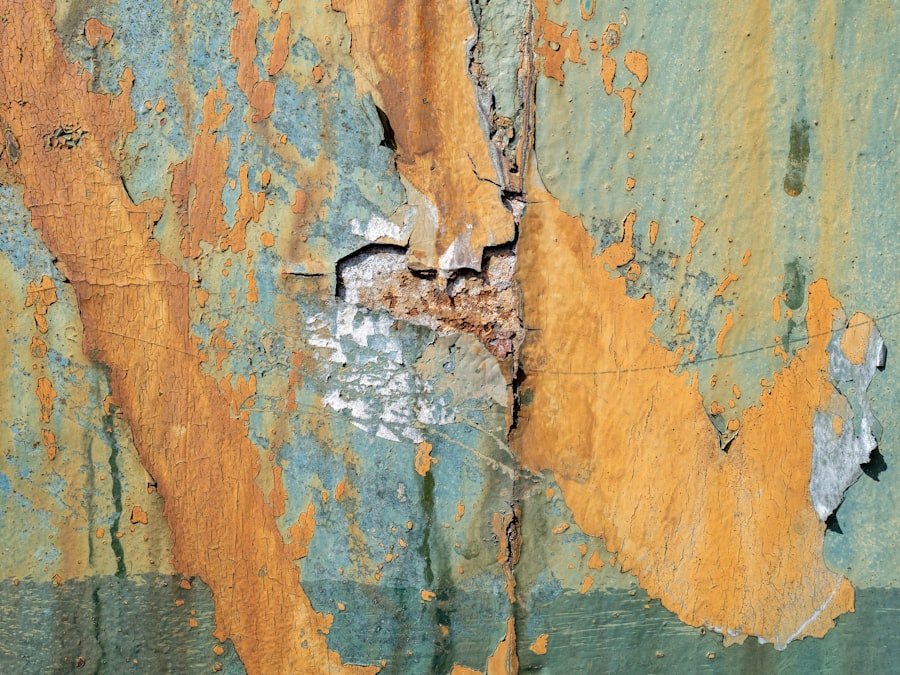
Drywall is a common material used in modern construction that forms the foundation of interior walls and ceilings in residential and commercial buildings. Although drywall is widely used, it can sustain damage from multiple sources. Impacts from furniture, water exposure, and structural settling can all cause visible damage to drywall surfaces.
Identifying the type of drywall damage is essential for selecting the correct repair method. The most frequent types of damage include dents, holes, cracks, and water damage, each requiring distinct repair techniques. Dents and small holes typically result from routine activities such as moving furniture or installing wall hangings.
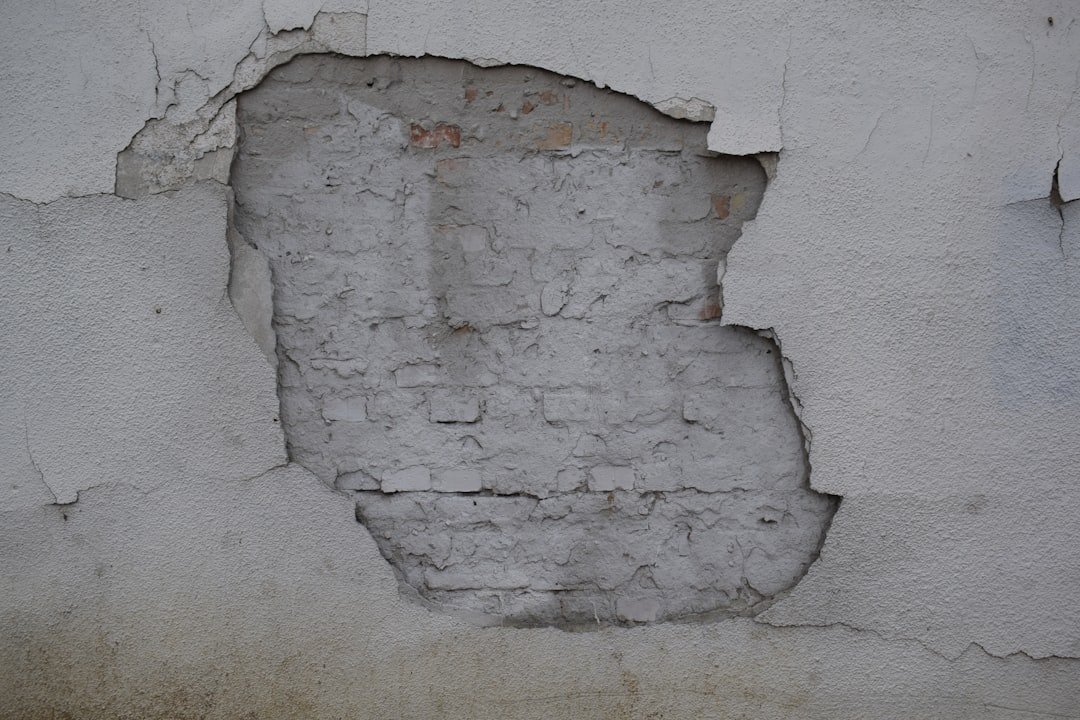
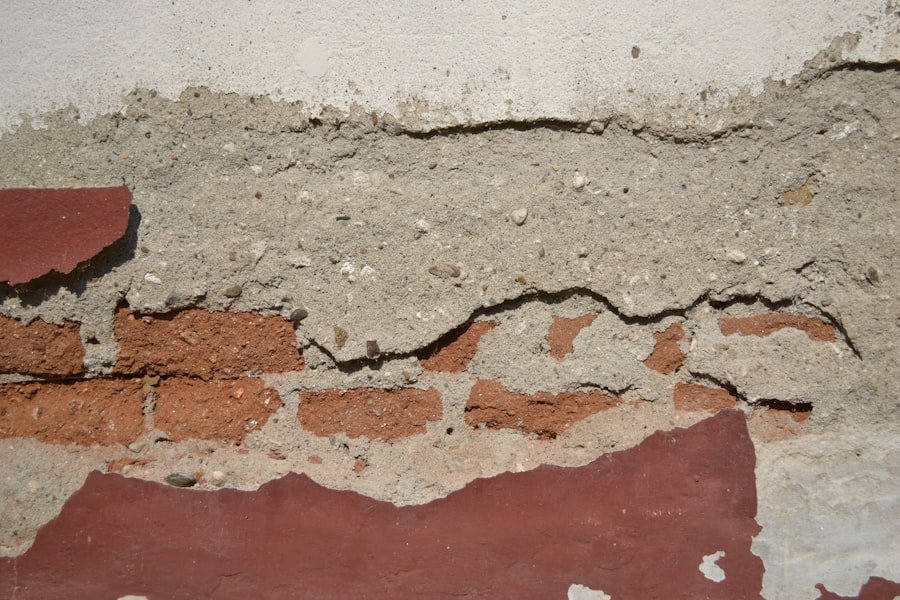
These minor defects can generally be repaired with relative ease. Larger holes, which often occur from accidents or construction work, require more involved repair procedures. Cracks can develop from structural movement or temperature changes and may indicate deeper structural problems that require investigation.
Water damage, which appears as staining or surface depression, can promote mold development if left unaddressed. Identifying these different types of damage is the initial step in selecting an appropriate repair approach.
Tools and Materials Needed for DIY Drywall Repair
Before embarking on a drywall repair project, it is essential to gather the right tools and materials to ensure a smooth process. Basic tools include a utility knife for cutting drywall, a drywall saw for larger holes, and a putty knife for applying joint compound. A sanding block or electric sander will help achieve a smooth finish after repairs are made.
Additionally, a tape measure and level are invaluable for ensuring accurate cuts and alignment. In terms of materials, having the right type of drywall on hand is crucial. Standard 1/2-inch thick drywall is suitable for most interior walls, while moisture-resistant drywall is ideal for areas prone to humidity, such as bathrooms.
Joint compound, also known as mud, is necessary for filling in seams and smoothing out repairs. Drywall tape—either paper or fiberglass mesh—will reinforce joints and prevent cracking. Finally, primer and paint will be needed to match the repaired area with the surrounding wall, ensuring a seamless appearance.
Assessing the Severity of the Damage
Before initiating any repair work, it is vital to assess the severity of the damage to determine the appropriate course of action. Minor dents and small holes can often be addressed with simple patching techniques that require minimal time and effort. For instance, a small nail hole can be filled with spackling compound and sanded down for a smooth finish.
However, larger holes or extensive damage may necessitate cutting out a section of drywall and replacing it entirely. When evaluating cracks, it is essential to consider their size and location. Hairline cracks may simply require a touch-up with joint compound, while wider cracks could indicate structural issues that need further investigation.
Water damage should also be carefully assessed; if the drywall feels soft or spongy, it may need to be replaced entirely to prevent mold growth. By accurately gauging the extent of the damage, homeowners can make informed decisions about whether to tackle the repair themselves or seek professional assistance.
Step-by-Step Guide to Repairing Drywall
Once the assessment is complete and the necessary tools and materials are gathered, it’s time to begin the repair process. For small holes or dents, start by cleaning the area around the damage to ensure proper adhesion of the patching material. Apply a layer of joint compound over the hole using a putty knife, feathering the edges to blend with the surrounding wall.
Allow it to dry completely before sanding it smooth. For larger holes, the process involves cutting out a square or rectangular section of damaged drywall using a utility knife or drywall saw. Measure and cut a new piece of drywall to fit snugly into the opening.
Secure it in place with drywall screws, ensuring that it is flush with the existing wall surface. Next, apply drywall tape around the seams and cover it with joint compound. After allowing it to dry, sand it down until smooth before applying additional coats as needed for a seamless finish.
Tips for a Professional-Looking Finish
| Step | Materials Needed | Estimated Time | Difficulty Level | Cost Estimate | Tips |
|---|---|---|---|---|---|
| 1. Assess Damage | Measuring tape, flashlight | 10-15 minutes | Easy | Minimal | Identify size and type of damage before starting |
| 2. Prepare Area | Drop cloth, painter’s tape, utility knife | 15-20 minutes | Easy | Minimal | Protect surrounding surfaces and remove loose debris |
| 3. Cut Out Damaged Drywall | Utility knife, drywall saw | 20-30 minutes | Medium | Minimal | Cut a clean square or rectangle around the damage |
| 4. Install Drywall Patch | Drywall patch, drywall screws, drill | 30-45 minutes | Medium | Low | Secure patch firmly to studs or backing |
| 5. Apply Joint Compound | Joint compound, putty knife, drywall tape | 1-2 hours (including drying time) | Medium | Low | Apply multiple thin layers for best results |
| 6. Sand and Smooth | Sandpaper (medium and fine grit), sanding block | 30-45 minutes | Medium | Minimal | Wear a mask to avoid inhaling dust |
| 7. Prime and Paint | Primer, paint, paintbrush or roller | 1-2 hours (including drying time) | Easy | Low | Match paint color for seamless finish |
Achieving a professional-looking finish requires attention to detail throughout the repair process. One key tip is to apply multiple thin layers of joint compound rather than one thick layer. This approach minimizes the risk of cracking and allows for better control over the final texture.
Each layer should be allowed to dry completely before sanding, which helps create a smooth surface that blends seamlessly with the surrounding wall. Another important aspect is feathering the edges of each layer of joint compound. This technique involves gradually tapering the compound away from the center of the repair area to create a smooth transition between the repaired section and the existing wall.
Using a wider putty knife can help achieve this effect more effectively. Finally, once the repair is complete and sanded smooth, applying a coat of primer before painting will ensure that the new paint adheres properly and matches the existing wall color.
Common Mistakes to Avoid in DIY Drywall Repair
While DIY drywall repair can be straightforward, several common mistakes can lead to unsatisfactory results. One frequent error is neglecting to properly prepare the surface before applying joint compound. Failing to clean or prime the area can result in poor adhesion and an uneven finish.
Additionally, rushing through the drying process can lead to cracking or peeling once painted. Another mistake is using too much joint compound at once. Applying thick layers can cause longer drying times and increase the likelihood of imperfections appearing in the finish.
It’s also essential to avoid skipping steps; for instance, not using drywall tape on seams can lead to cracks forming over time as the wall settles or shifts. By being mindful of these pitfalls and taking care at each stage of the repair process, homeowners can achieve better results.
When to Call in a Professional
While many drywall repairs can be tackled by homeowners with some basic skills and tools, certain situations warrant professional intervention. If extensive water damage has occurred—especially if mold is present—it’s crucial to consult with experts who can assess and remediate both the visible damage and any underlying issues related to moisture intrusion. Similarly, if structural problems are suspected due to large cracks or sagging walls, professionals should be called in to evaluate and address these concerns.
Additionally, if a homeowner feels overwhelmed by the scope of repairs needed or lacks confidence in their ability to achieve a satisfactory finish, hiring a professional can save time and ensure high-quality results. Professionals have access to specialized tools and materials that may not be readily available to DIYers and possess experience that allows them to navigate complex repairs efficiently.
Maintaining and Preventing Future Drywall Damage
Once repairs are completed, maintaining drywall integrity becomes essential in preventing future damage. Regular inspections can help identify potential issues before they escalate; for example, checking for signs of water leaks around plumbing fixtures or windows can prevent moisture-related problems from developing. Additionally, ensuring proper ventilation in areas prone to humidity—such as bathrooms and kitchens—can mitigate moisture buildup that leads to mold growth.
Another preventive measure involves using furniture pads or bumpers on heavy items that may come into contact with walls during movement. This simple step can significantly reduce the risk of dents and scratches over time. Furthermore, applying touch-up paint as needed after minor incidents can help maintain an aesthetically pleasing appearance while protecting against further wear and tear on repaired areas.
By adopting these proactive strategies, homeowners can extend the life of their drywall and keep their interiors looking fresh and well-maintained.
FAQs
What tools do I need to repair drywall damage myself?
To repair drywall damage, you typically need a putty knife, drywall compound (joint compound), sandpaper or sanding sponge, a drywall patch or mesh tape, a utility knife, and primer and paint for finishing.
Can I repair large holes in drywall without professional help?
Yes, you can repair large holes by using a drywall patch or cutting a new piece of drywall to fit the hole, securing it with drywall screws, applying joint compound, and sanding it smooth before painting.
How long does it take to repair drywall damage?
The time required depends on the size and severity of the damage. Small holes or dents can be fixed in a few hours, including drying time, while larger repairs may take a couple of days due to multiple layers of compound and sanding.
Do I need to prime the repaired area before painting?
Yes, priming the repaired area is important to seal the joint compound and ensure the paint adheres properly and matches the surrounding wall.
Is it necessary to sand the drywall compound after application?
Yes, sanding is necessary to create a smooth, even surface that blends seamlessly with the existing wall before painting.
Can I use spackle instead of joint compound for drywall repair?
Spackle is suitable for small holes and minor repairs, but joint compound is preferred for larger repairs because it is easier to sand and provides a more durable finish.
How do I prevent future drywall damage?
To prevent future damage, avoid impact on walls, use corner guards in high-traffic areas, control indoor humidity to prevent moisture damage, and address any leaks promptly.
Is it safe to repair drywall if there is mold present?
If mold is present, it is important to address the mold issue first by cleaning and treating the affected area. Severe mold problems may require professional remediation before drywall repair.
Can I repair drywall damage on textured walls?
Yes, but matching the texture can be challenging. You may need to use specific tools or techniques to replicate the existing texture after the repair is complete.
What are common mistakes to avoid when repairing drywall?
Common mistakes include applying too much joint compound at once, not allowing sufficient drying time, inadequate sanding, failing to prime before painting, and not properly securing patches or mesh tape.